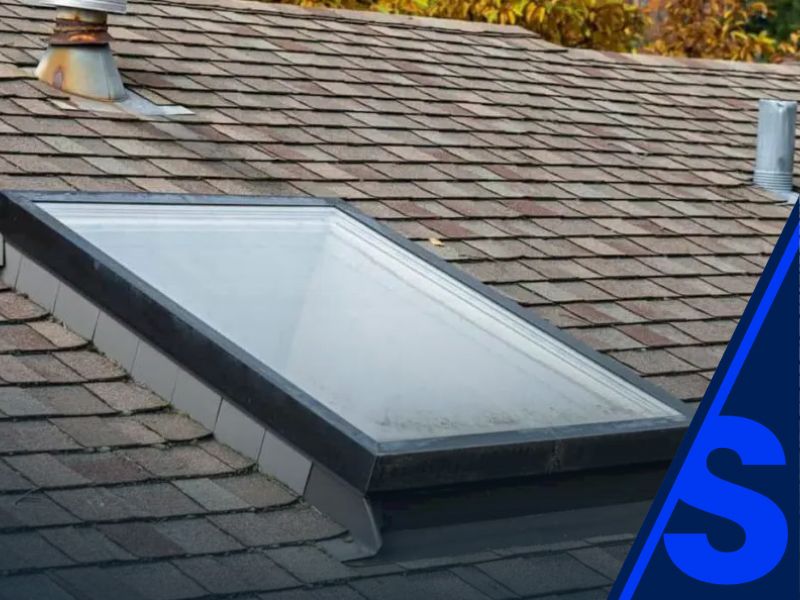
Skylights add natural light, architectural value, and functionality to residential and commercial projects, but they also introduce one of the most common leak points on a roof. Proper skylight flashing is essential to protect the roof surface, prevent water infiltration, and ensure long-term durability.
This article offers a step-by-step guide to skylight flashing installation, focusing on builder-specific concerns such as code compliance, correct use of flashing kits, and long-term leak prevention. Whether you are planning a Velux skylight installation or managing multiple deck mounted skylights on a production schedule, understanding correct flashing installation techniques will help ensure leak-free results and reduce costly callbacks.
For professional installation support, see CitySide Roofing Services to learn how our QC-driven processes integrate with builder schedules.
What is Skylight Flashing and Why Does it Matter?

Proper skylight flashing prevents leaks by directing water away from the skylight using step, sill, saddle, and counterflashing layers. Correct installation, sealing, and use of approved flashing kits ensure watertight, code-compliant roofs and long-term durability.
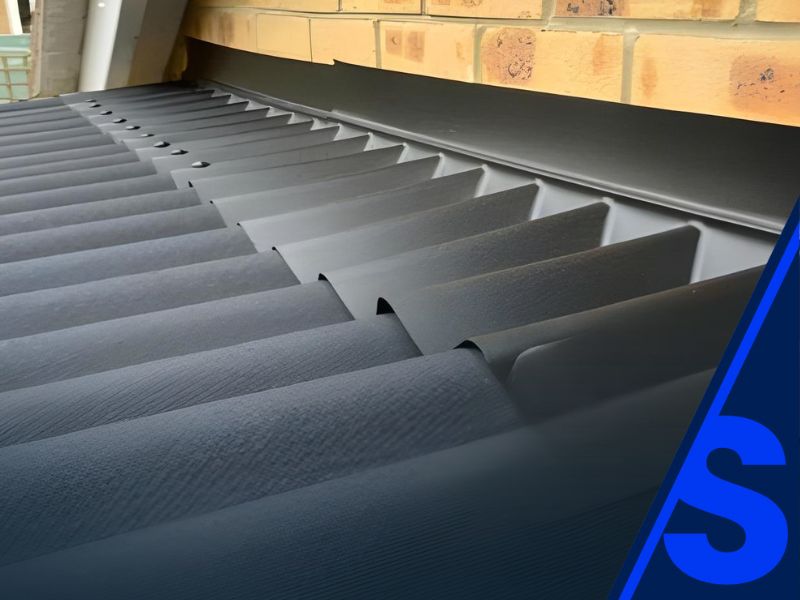
A skylight is essentially a roof penetration, and any penetration requires careful waterproofing to avoid leaks. Skylight flashing is the system of metal or composite pieces designed to divert water away from the skylight and over the shingles.
Without proper flashing installation, water infiltration can occur around the perimeter of the skylight, leading to roof leaks, structural issues, and even mold growth. Builders who rely on manufacturer-approved flashing kits and proven installation techniques significantly reduce the risk of potential leaks.
Skylight flashing installation is not just a best practice; it is a building code expectation in most regions. Using a Velux skylight with a matching flashing kit ensures the skylight and flashing are engineered to work together for a watertight installation.
What Tools and Materials Are Needed?
Every skylight installation requires the right tools and materials to ensure a tight seal and long-term performance. Builders should prepare:
- Roofing nails or screws or nails, depending on the roof type
- Step flashing pieces sized for shingles around the skylight
- Sill flashing, saddle flashing, and top flashing components
- Roofing felt or underlayment for a layer of protection
- Sealant or caulk for additional layers of waterproofing
- Roofing cement for reinforcing potential problem areas
- A Velux flashing kit for deck mounted skylights or curb mounted skylight systems
Using high-quality materials, such as galvanize flashing, ensures durability and minimizes the risk of premature deterioration. See CitySide Roofing Material Standards for more information on approved builder-grade products.
How Do You Position the Skylight Correctly?
Before flashing installation begins, it is important to position the skylight properly. Placing the skylight too close to valleys, roof edges, or other penetrations increases the chance of water penetration.
The position of the skylight should allow water to naturally run away from the skylight without pooling at the bottom of the skylight or along the sides of the skylight. Proper layout ensures flashing has enough clearance to redirect water infiltration down the roof surface.
Builders should always confirm that the skylight is square with the roof rafters and sits flush against the roofing material. This step ensures the installation process proceeds smoothly and prevents potential problems later in the project.
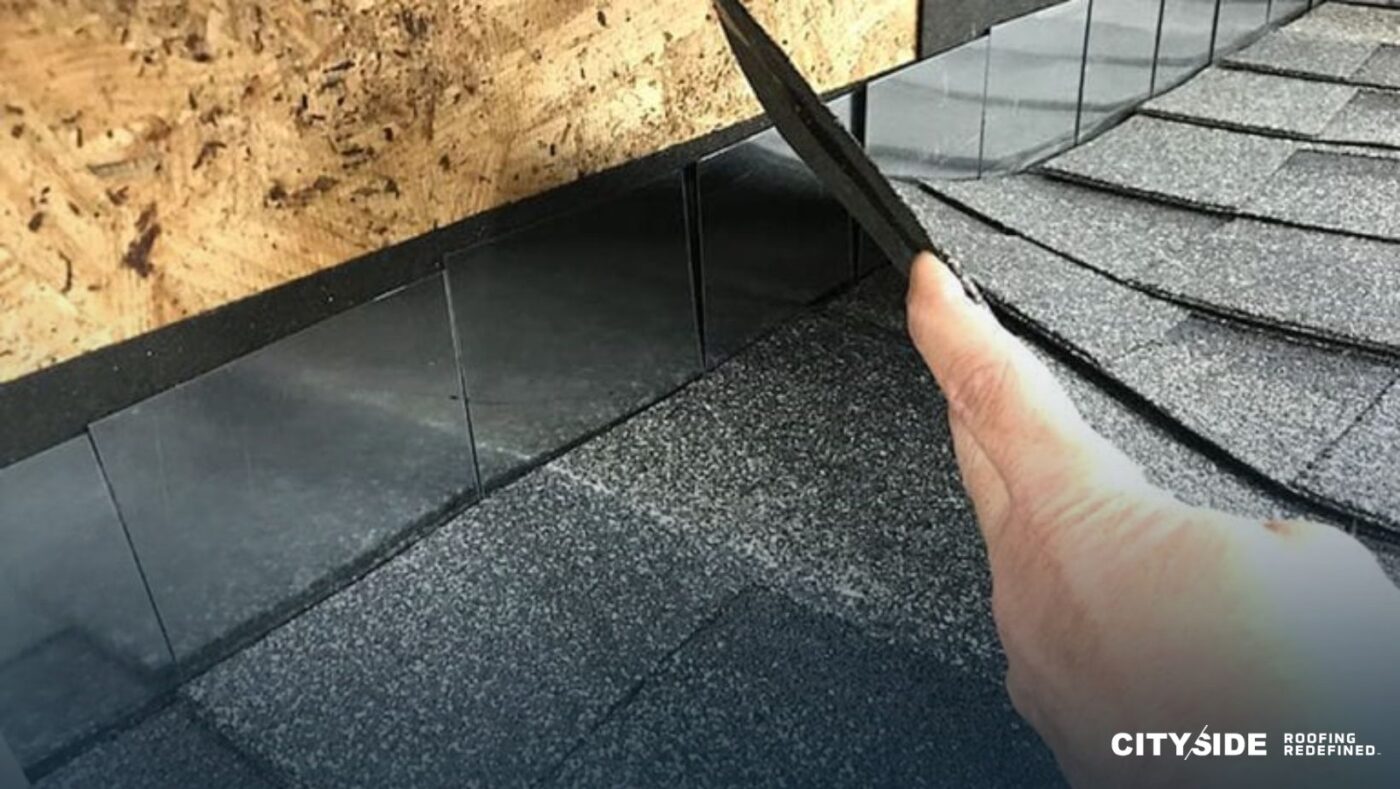
What Is Step Flashing and How Is It Used?
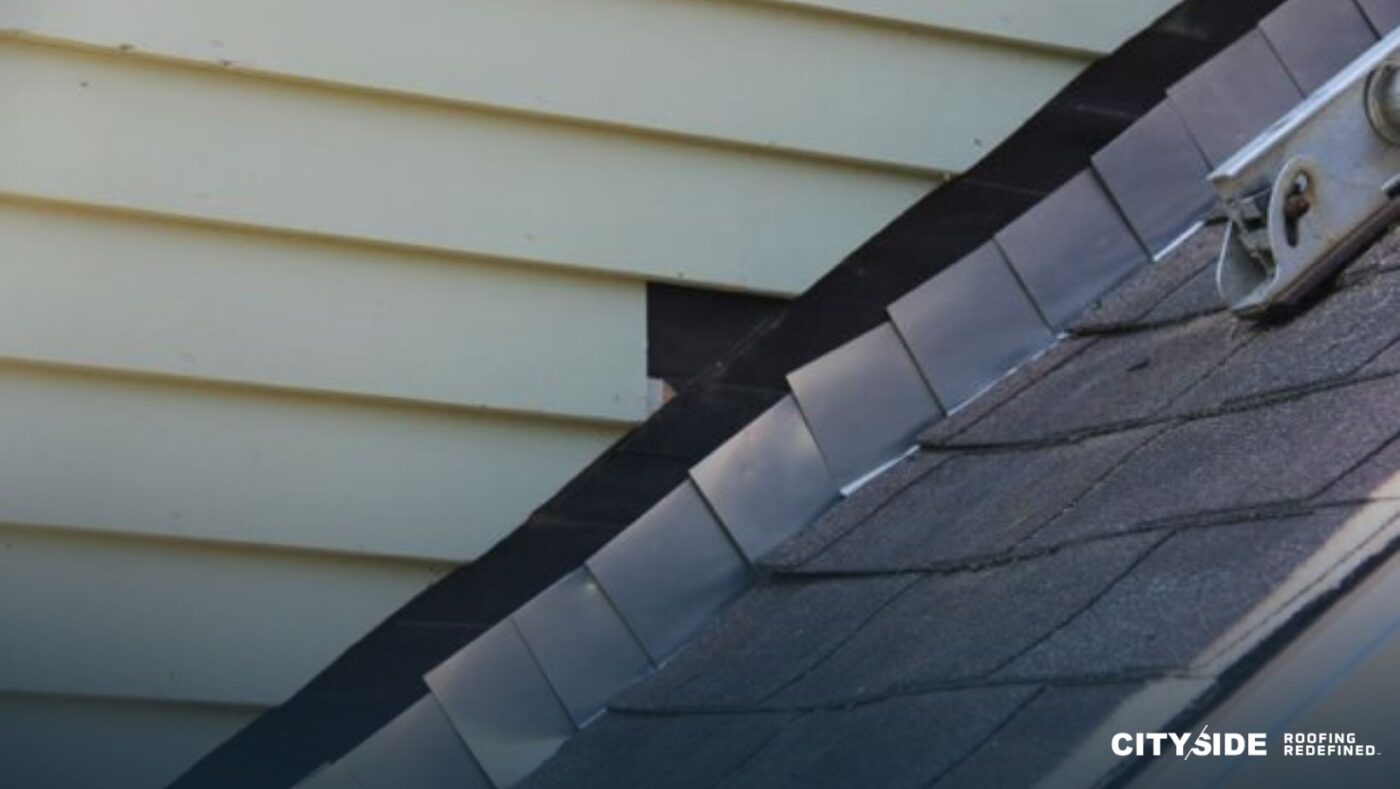
Step flashing is one of the most important elements of skylight flashing. It consists of individual L-shaped pieces of flashing installed alongside the shingles around the skylight. Each piece of flashing is layered with shingles to create a watertight barrier.
The installation techniques for step flashing follow a layered approach: one piece of flashing, one shingle, then another piece of flashing. This layered approach channels water away from the skylight and over the roofing shingles.
Builders should install step flashing carefully along the sides of skylight units, ensuring each piece of flashing overlaps correctly. Skipping or misaligning step flashing is one of the leading causes of a skylight leak.
What Role Does Saddle Flashing Play?
Saddle flashing, sometimes called back pan flashing, is installed at the top of the skylight where water naturally flows down from the roof slope. Its purpose is to direct water away from the top of the skylight and into the shingles below.
Properly install the saddle using a piece of flashing wide enough to extend beyond the sides of skylight openings. This ensures water flowing from the roof surface does not pool at the top of the skylight.
Builders should ensure saddle flashing is integrated into the underlayment and shingle layers, creating a continuous path to move water away from the skylight. Without proper saddle flashing, water infiltration at the top of the skylight can lead to persistent leaks.
How Does Sill Flashing Protect the Bottom of the Skylight?
Sill flashing is installed at the bottom of the skylight to catch water and direct it down the roof surface. This flashing acts as a first line of defense against leaks at the bottom flashing point.
Sill flashing works in combination with shingles around the bottom of the skylight, creating a tight seal and reducing potential leaks. Builders should avoid leaving flashing exposed and always use roofing cement and sealant to reinforce this vulnerable area.
The bottom flashing is often integrated into Velux skylight kits, making the installation process faster and more consistent for production builders.
What About Counterflashing?
Counterflashing is installed over step flashing to provide additional layers of protection. This ensures water cannot back up under flashing and shingles, especially in regions with heavy rain or snow.
When using Velux skylight systems, counter flashing is often pre-engineered into the flashing kit. However, in some curb mounted skylight systems, builders must manually install counter flashing to complete the watertight seal.
Counterflashing ensures water flows away from the skylight, maintaining a tight seal around a skylight and reducing potential problems caused by wind-driven rain.
How Does Underlayment Support Leak Prevention?
Underlayment is an essential component of the skylight installation process. It provides a layer of protection beneath the flashing and shingles, reducing the risk of water penetration if flashing is damaged or improperly sealed.
Builders should install underlayment such as roofing felt around the perimeter of the skylight opening before applying flashing. This additional layer of protection is required by building code in many regions and helps maintain watertight integrity.
Using underlayment is one of the simplest and most effective ways to ensure a leak-free skylight installation.
What Is the Step-by-Step Guide to Skylight Flashing?
Here is a step-by-step guide builders can follow for skylight flashing installation:
- Position the skylight and secure it with roofing nails through the flange.
- Install underlayment around the perimeter of the skylight, overlapping onto the roof surface.
- Place sill flashing at the bottom of the skylight and secure with screws or nails.
- Install step flashing along the sides of skylight openings, layering flashing and shingles around the skylight.
- Install the saddle flashing at the top of the skylight to direct water away from the skylight.
- Place top flashing and counterflashing over step flashing for additional layers of protection.
- Use roofing cement and caulk to seal nail holes and reinforce joints.
- Inspect the installation to ensure no flashing exposed edges remain.
This step-by-step process ensures a leak-free skylight flashing installation that meets code requirements and provides long-term durability.
How Do Builders Prevent Potential Leaks Long-Term?
Even with correct flashing installation, long-term performance depends on maintenance and inspection. Builders can help prevent potential leaks by:
- Using Velux skylight installation kits that are engineered for deck mounted skylights and curb mounted skylights.
- Training crews on consistent installation techniques to avoid water penetration and potential leaks.
- Ensuring roofing material overlaps flashing to allow proper water shedding.
- Verifying all nail holes are sealed with roofing cement or caulk to prevent water infiltration.
- Applying additional layers of protection, such as ice and water shield underlayment in vulnerable regions.
Proactive planning during the installation process reduces potential problems and ensures leak-free performance for the life of the roof.
Conclusion and Key Takeaways
Skylight flashing is one of the most critical aspects of installing a skylight. Builders who follow manufacturer guidelines, use complete flashing kits, and integrate underlayment achieve watertight, code-compliant results.
Key takeaways for builders:
- Always use step flashing, saddle flashing, sill flashing, and top flashing together for a complete system.
- Position the skylight to keep water away from the skylight and prevent water infiltration.
- Use underlayment as a layer of protection to prevent water penetration.
- Seal all nail holes with roofing cement, caulk, or sealant to maintain a tight seal.
- Integrate flashing installation into production schedules to ensure consistency across projects.
For quality assurance, leak-free installation, and professional support on skylight flashing projects, contact CitySide Roofing today.