To calculate roof ventilation, first determine the attic floor’s square footage by multiplying its length and width. Then, divide the total square footage by either 150 or 300, depending on your local code or a balanced system. The result is the required net free ventilating area (NFVA) in square feet. Finally, convert this area to square inches by multiplying by 144, as most vents are rated in square inches. For a balanced system, half of the total NFVA should be intake vents (like soffit vents) and half should be exhaust vents (like ridge or roof vents).
How do you calculate ventilation requirements?
Ventilation requirements are calculated based on attic square footage and code standards. The International Residential Code (IRC) specifies one square foot of ventilation for every 150 square feet of attic floor area, or one square foot for every 300 square feet when a balanced system with vapor barriers is used. This ensures airflow that removes heat and moisture effectively.
What is the best ventilation system for a roof?
 The best system for most modern builds is a balanced system that combines soffit intake vents and ridge exhaust vents. This setup promotes continuous airflow through the attic, preventing hot air buildup, condensation, and premature roof material failure. Builders in humid climates, such as Florida, often rely on this design for code compliance and optimal performance.
How do you calculate roof ventilation?
Start by measuring the attic’s floor area. Divide by either 150 or 300 to find the required net free vent area (NFA). Convert the number to square inches by multiplying by 144, then split that total between intake and exhaust vents. Manufacturers label vents with their NFA ratings, helping you match the correct amount of venting to your roof size.
What is the proper ventilation for a roof?
Proper roof ventilation maintains equal air intake and exhaust while meeting code requirements. A well-ventilated roof minimizes moisture buildup, reduces attic heat, and extends roof system life. Proper installation of vents at soffits and ridges ensures steady airflow across the entire attic space.
According to the U.S. Department of Energy’s Energy Saver Guide, balanced attic ventilation “helps reduce cooling costs, prolong roof life, and prevent moisture problems in humid climates,” emphasizing its critical role in residential energy performance.
Why Roof Ventilation Calculation Matters
Roof ventilation calculation is one of the most overlooked yet critical aspects of roof design and construction. For builders, it directly affects code compliance, energy performance, and long-term warranty outcomes. Whether working on residential production builds or custom homes, understanding how to calculate roof ventilation ensures balanced airflow and prevents costly callbacks due to attic heat or condensation.
Florida’s humid climate and strict building codes make precise roof ventilation calculation especially important. Miscalculations can lead to inspection failures, mold development, and roofing material degradation. This guide explains how to calculate roof ventilation step by step, interpret Net Free Area (NFA) ratings, and design balanced systems that meet both building codes and performance standards.
Understanding the Basics of Roof Ventilation

Roof ventilation allows air to flow through the attic space, keeping it dry and temperature-controlled. A proper system includes intake vents at the soffits and exhaust vents at or near the ridge. Intake vents pull in cooler outside air, while exhaust vents release hot, moist air.
The purpose of roof ventilation is to manage attic temperature and humidity. In hot climates, it prevents heat buildup that can cause shingles to fail prematurely. In colder climates, it helps reduce moisture condensation and ice dam formation. Builders must calculate ventilation requirements precisely to ensure consistent air movement through the attic cavity.
The Concept of Net Free Vent Area (NFA)
Net Free Vent Area (NFA) represents the total open area of a vent available for air to pass through. It is expressed in square inches and listed on vent product labels. When calculating roof ventilation, builders use NFA to determine the total intake and exhaust area needed.
For example, a ridge vent might have an NFA of 18 square inches per linear foot, while a soffit vent could provide 9 square inches per foot. Builders use these numbers to balance airflow between intake and exhaust. A balanced system ensures that hot air exits efficiently without creating negative pressure that draws conditioned air from the living space.
The Building Code Standards: 1/150 vs 1/300 Rule
The International Residential Code (IRC) and Florida Building Code (FBC) define two key ratios for calculating roof ventilation: the 1/150 rule and the 1/300 exception.
Under the 1/150 rule, one square foot of ventilation is required for every 150 square feet of attic floor area. This standard applies when there is no vapor barrier or when the ventilation layout is unbalanced.
The 1/300 exception allows one square foot of ventilation for every 300 square feet of attic space if the system is balanced, with intake and exhaust evenly distributed, and a vapor barrier is present.
In Florida, builders often use the 1/300 ratio because modern homes typically include balanced ridge-and-soffit systems and code-approved vapor barriers.
Step-by-Step Roof Ventilation Calculation
- Measure the Attic Floor Area:
Multiply the length and width of the attic floor to get total square footage. For example, if an attic is 40 feet long and 30 feet wide, the area is 1,200 square feet. - Apply the Code Ratio:
Divide by 150 or 300, depending on your ventilation design.- 1/150 rule: 1,200 ÷ 150 = 8 sq. ft. of required ventilation.
- 1/300 rule: 1,200 ÷ 300 = 4 sq. ft. of required ventilation.
- 1/150 rule: 1,200 ÷ 150 = 8 sq. ft. of required ventilation.
- Convert to Square Inches:
Multiply the result by 144 to convert square feet to square inches.- 4 sq. ft. × 144 = 576 square inches of total ventilation needed.
- 4 sq. ft. × 144 = 576 square inches of total ventilation needed.
- Balance Intake and Exhaust:
Split the total NFA evenly. For the example above:- 288 sq. in. intake (soffit vents)
- 288 sq. in. exhaust (ridge or roof vents)
- 288 sq. in. intake (soffit vents)
This ensures consistent airflow and compliance with code requirements.
Balancing Intake and Exhaust Vents
Balanced ventilation is essential for effective airflow. Without proper intake, exhaust vents can create negative pressure in the attic, pulling conditioned air from the living space. This makes HVAC systems work harder, increases energy costs, and reduces comfort.
Builders should verify that intake vent capacity matches exhaust vent capacity. If ridge vent NFA exceeds soffit vent NFA, air movement can stagnate, leading to hot spots. The reverse can also cause poor airflow. Equal distribution keeps air flowing smoothly through the attic cavity, maintaining an even temperature across the roof deck.
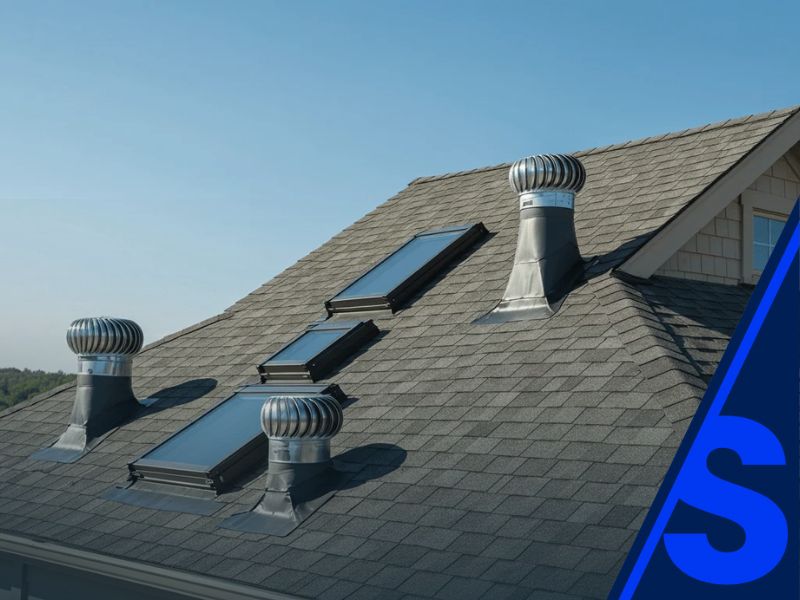
Common Types of Roof Vents Used in Construction
Builders have several options when choosing roof ventilation systems. Each type of vent has its specific application depending on roof slope, design, and budget.
- Ridge Vents: Installed along the roof peak, providing continuous exhaust ventilation.
- Soffit Vents: Placed under eaves to allow cool air intake.
- Gable Vents: Installed on vertical gable walls; often supplemental.
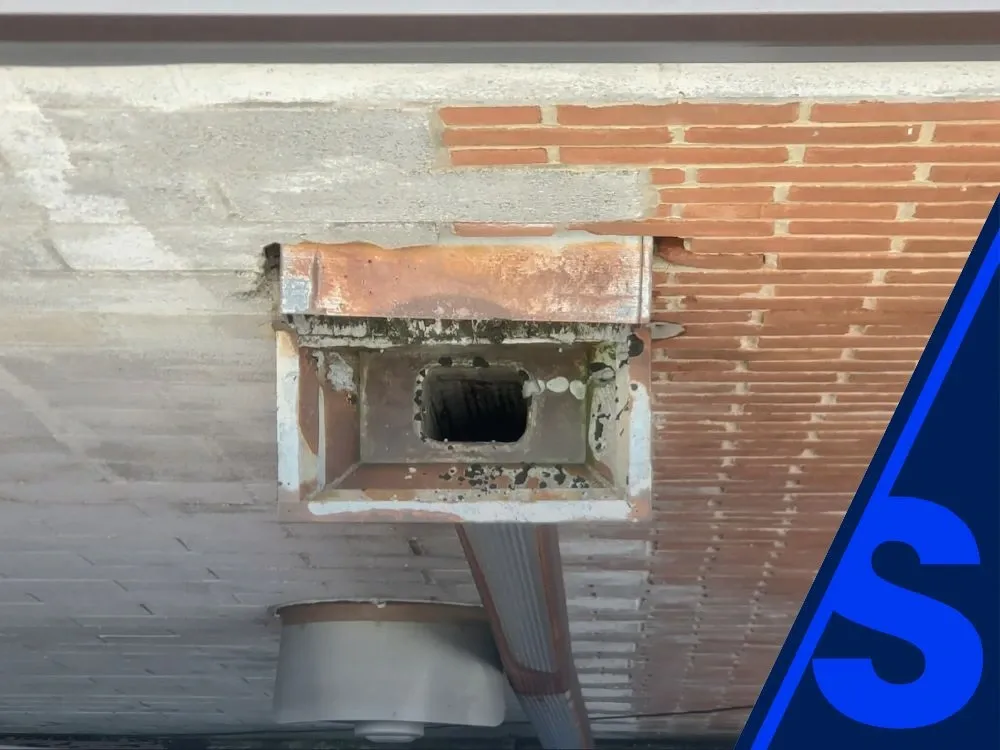
- Box Vents or Roof Louvers: Fixed exhaust vents suitable for simple rooflines.
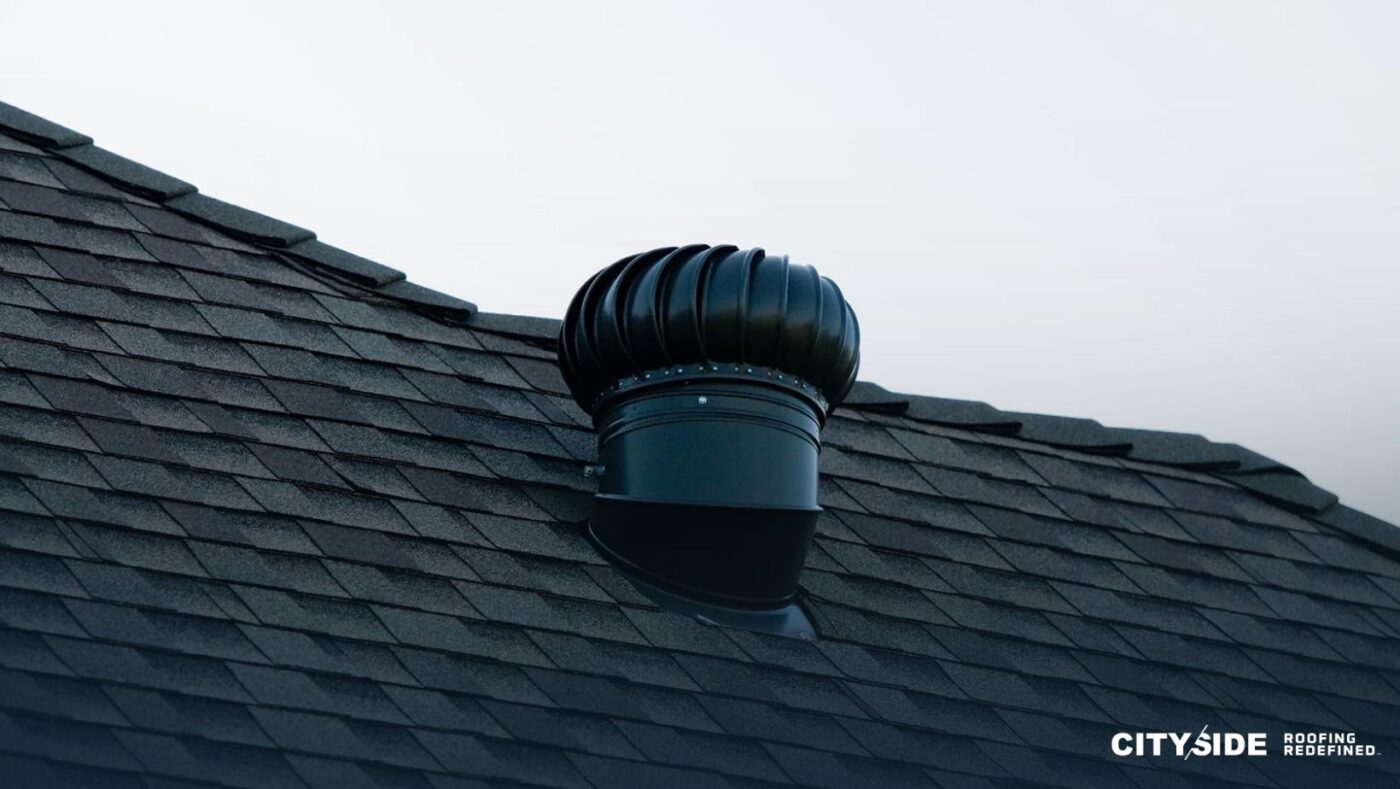
- Powered Attic Fans: Electric or solar fans that boost ventilation when passive airflow is insufficient.
Selecting the right type depends on the roof design and attic layout. For new construction, ridge and soffit vents remain the industry standard for balanced performance.
Calculating Ventilation by Vent Type

Manufacturers specify NFA per vent unit or per linear foot. Builders must total these ratings to meet the required ventilation area.
For example:
If each soffit vent provides 18 square inches of NFA and 288 square inches are needed, divide 288 by 18 = 16 soffit vents required.
If the ridge vent provides 18 square inches of NFA per linear foot, divide 288 by 18 = 16 linear feet of ridge vent needed.
This approach ensures compliance while keeping airflow balanced and code-approved. Always check the vent manufacturer’s label or documentation for exact NFA ratings.
Roof Pitch and Climate Considerations
Roof slope and local climate affect ventilation needs. Steeper roofs have larger attic air volumes that require more airflow, while flatter roofs may rely on mechanical or hybrid systems to maintain air circulation.
In Florida, high humidity levels increase the risk of attic moisture accumulation. Builders often integrate vapor barriers and continuous ridge-and-soffit systems to maintain airflow and meet the 1/300 code ratio. Ventilation systems should also be screened to prevent wind-driven rain intrusion during hurricane season.
Common Mistakes in Roof Ventilation Calculations
Even experienced builders can make ventilation miscalculations that affect performance and inspection outcomes. Common errors include:
- Unbalanced intake and exhaust: Leads to uneven airflow and potential condensation.
- Blocked soffit vents: Caused by insulation or construction debris.
- Ignoring attic compartmentalization: Divided attic spaces may need independent ventilation zones.
- Over-ventilation: Excess exhaust venting can cause negative pressure and draw conditioned air into the attic.
Regular QC inspections help identify these issues before final approval.
Verification and Code Compliance
Builders should document ventilation calculations as part of project submittals. Many jurisdictions, including Florida counties, require NFA documentation to verify compliance during roof inspections.
Ventilation design should be included in architectural plans or HVAC coordination documents to ensure seamless integration with the attic insulation and vapor barrier systems. Manufacturers’ product data sheets also serve as supporting evidence for NFA compliance.
Proper documentation protects builders against warranty claims related to attic heat or moisture problems and reinforces a reputation for code-accurate construction.
Best Practices for Builders
- Always calculate ventilation using attic floor area, not roof surface area.
- Verify NFA ratings from vent product labels or technical sheets.
- Ensure intake and exhaust are balanced to prevent negative pressure.
- Keep soffit vents clear of insulation and debris.
- Integrate ventilation design into early project planning for code compliance.
Following these steps guarantees consistent inspection performance and long-term roof system stability.
Conclusion
Ultimately, roof ventilation design and calculation are important to building performance, code compliance, and long-term roof durability. Builders who understand Net Free Area (NFA), maintain balanced intake and exhaust, and apply the 1/150 or 1/300 rule achieve consistent results in both inspection outcomes and roof system longevity.
Properly calculated ventilation keeps attic temperatures stable, prevents moisture damage, and protects manufacturer warranties. For builders working in Florida’s hot, humid climate, getting ventilation right from the start means fewer callbacks, better inspections, and stronger quality control.
Key Takeaways:
- Calculate ventilation based on attic floor area, not roof area.
- Use NFA ratings to size and select vent quantities.
- Follow the 1/150 or 1/300 ratio per system balance and code.
- Keep intake and exhaust balanced to ensure continuous airflow.
- Document all ventilation calculations for inspection and warranty compliance.
For Florida builders seeking code-compliant ventilation design or installation guidance, CitySide Roofing’s Builder Services team can provide support to ensure every roof passes inspection and performs as intended.
Related Reading: