Installing a scupper on a flat or low-slope roof involves strategic placement in roof low points, cutting a precise opening through the parapet wall, inserting and securely fastening the metal scupper body, fully integrating it with the roof membrane using flashing and sealant, connecting it to a leader or drainage pipe, and directing discharge away from the structure with a downspout or splash block. Every step must maintain watertight continuity to prevent leaks, membrane failure, and long-term structural damage.
What are scuppers on a flat roof?
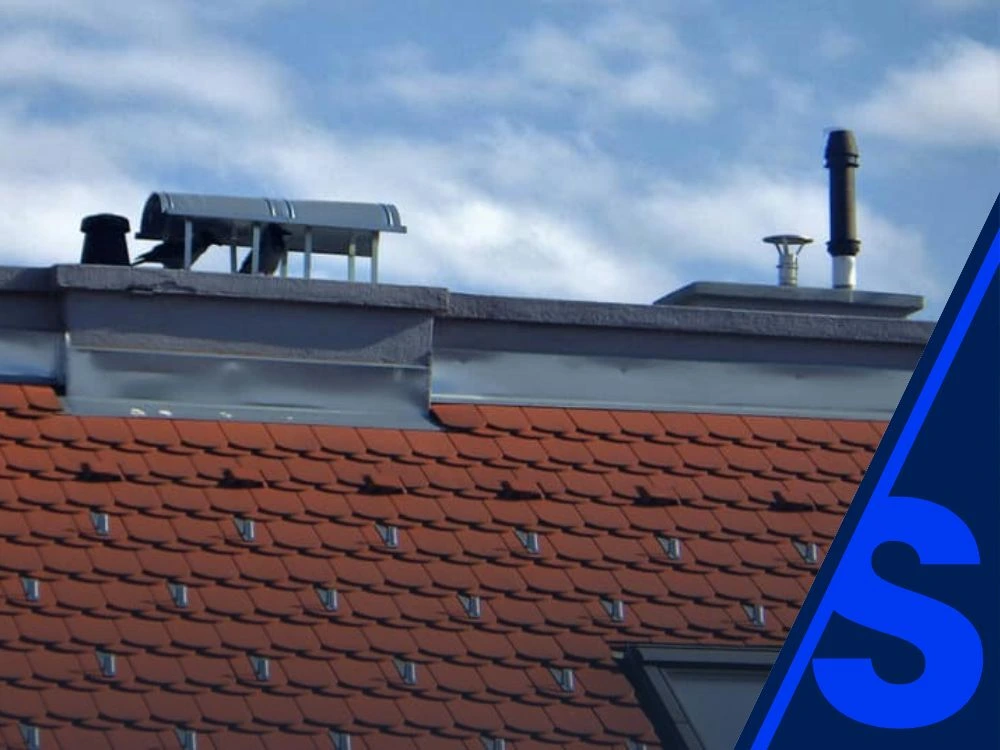
Scuppers are openings installed through parapet walls or roof edges on flat and low-slope roofs to allow water to drain off the roof surface. They function as a primary or secondary drainage method and are especially common on commercial and multi-family buildings where internal drains alone may not be sufficient.
How to determine scupper size?
Scupper size is determined by roof area, rainfall intensity, drainage slope, and local code requirements. Larger roof areas and regions with heavy rainfall require wider or multiple scuppers to prevent water buildup and ponding.
How are scuppers installed?
Scuppers are installed by locating low points on the roof, cutting an opening through the parapet wall, inserting a pre-manufactured metal scupper, mechanically fastening it to the structure, fully flashing it into the roof membrane, sealing all seams, and directing discharge away from the building.
What is the code minimum roof slope for a low-sloped roof?
Most building codes define a low-slope roof as having a minimum slope of one quarter inch per foot. This slope ensures positive drainage toward scuppers or internal drains and reduces standing water risk.
Scupper installation is one of the most critical drainage details in flat and low-slope roofing systems. When executed correctly, scuppers protect roof assemblies, structural components, and building interiors from prolonged water exposure. When executed poorly, they become chronic leak points, inspection failures, and warranty risks.
For builders and developers, scupper installation is not simply a penetration detail. It is a system-level decision that affects drainage performance, code compliance, long-term maintenance, and construction sequencing. This guide focuses on scupper installation from a new construction perspective, emphasizing precision, integration with roof membranes, and repeatable best practices that reduce callbacks and protect project margins.
Why Scupper Installation Matters in Flat and Low-Slope Roof Design
Flat and low-slope roofs rely entirely on engineered drainage paths. Unlike steep-slope roofs where gravity sheds water quickly, these systems must move water laterally toward defined exit points. Scupper installation provides a controlled discharge path that prevents ponding and reduces hydrostatic pressure on the roof membrane.
Improper scupper placement or undersizing can lead to standing water, membrane degradation, and structural loading issues. For builders managing large roof areas, even minor drainage inefficiencies can compound into major warranty exposure. Correct scupper installation ensures predictable drainage behavior under both normal rainfall and extreme storm events.
Expert Insight on Roof Drainage and Scuppers
According to guidance published by the Federal Emergency Management Agency, secondary roof drainage systems such as scuppers play a critical role in preventing excessive roof loading and structural failure during heavy rainfall events. FEMA notes that overflow drainage provisions are essential safeguards when primary drains become obstructed.
This guidance reinforces why scupper installation should never be treated as optional or secondary in flat roof design.
Types of Scuppers Used in Low-Slope Roofing Systems
Scuppers are available in several configurations, each suited to specific roof assemblies and drainage strategies.
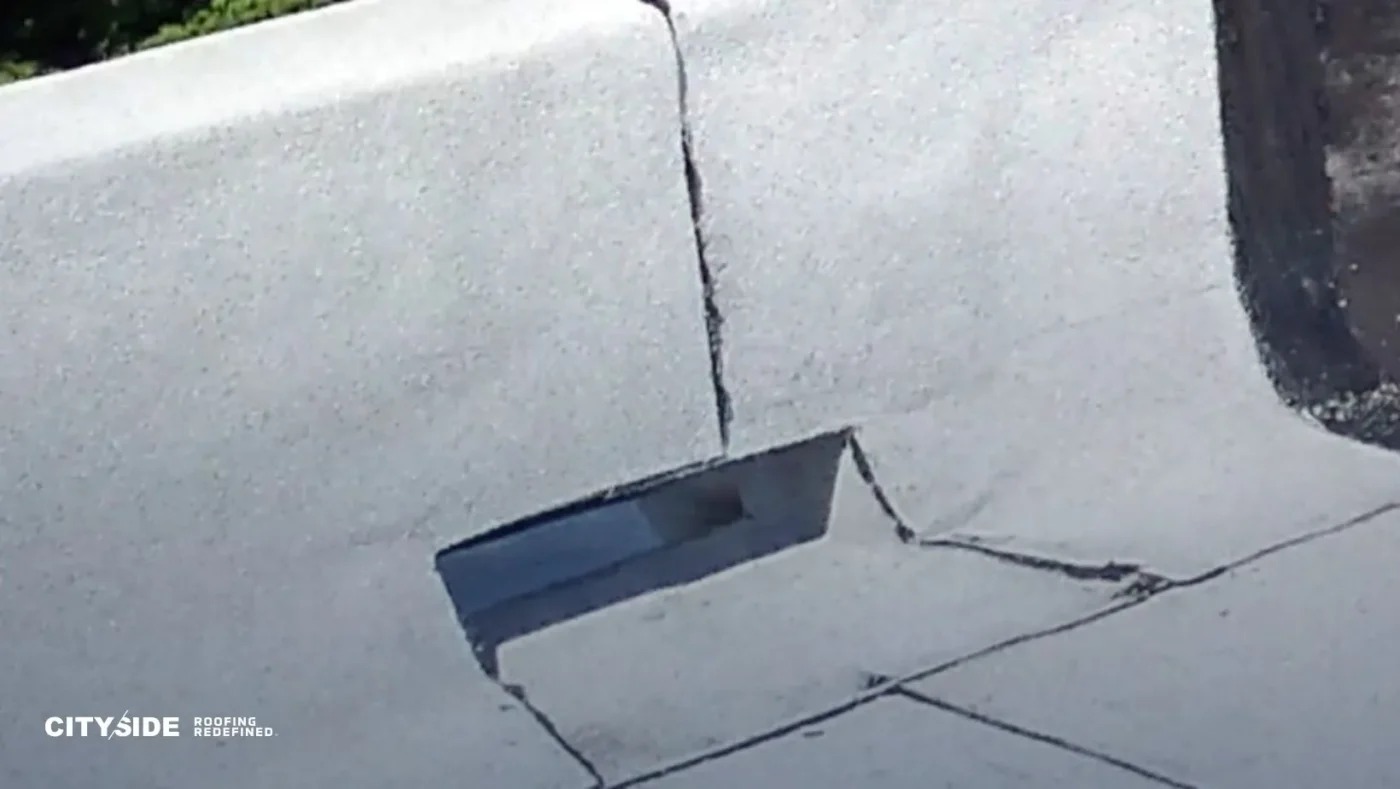
Through-wall scuppers pass entirely through the parapet and discharge water directly to the exterior. These are the most common options for commercial flat roofs.
Overflow scuppers are installed slightly above the primary drainage plane to act as emergency relief points when internal drains fail.
Conductor head scuppers integrate with external leaders or downspouts and are often used where discharge control is required near pedestrian or landscaped areas.
Selecting the appropriate scupper type during design ensures compatibility with roof membrane systems and exterior wall assemblies.
Planning Scupper Placement for Effective Drainage
Successful scupper installation begins with drainage planning, not field improvisation. Scuppers must align with roof slope design so water naturally flows toward them without obstruction.
Builders should coordinate scupper placement with structural engineers, roofing contractors, and parapet wall framing layouts. Placing scuppers too high above the finished roof surface increases ponding risk, while placing them too low can compromise parapet integrity.
In multi-scupped designs, spacing must account for roof area coverage and rainfall intensity to prevent localized overloading.
Determining Proper Scupper Size and Quantity
Scupper sizing is dictated by roof square footage and design rainfall rates. Codes typically reference drainage capacity tables that correlate opening size to roof area served.
Under-sized scuppers are one of the most common installation failures in flat roofing projects. Even a well-installed scupper cannot compensate for insufficient opening dimensions during heavy rainfall.
Builders should verify scupper sizing early in the submittal process and confirm that fabricated scuppers meet specified dimensions before membrane installation begins.
Step-by-Step Scupper Installation Process
Scupper installation follows a precise sequence to maintain membrane continuity and structural integrity.
First, identify the lowest drainage point along the parapet wall based on slope design.
Next, cut a clean opening through the parapet sheathing and framing sized to the scupper body.
Insert the metal scupper and mechanically fasten it to the wall framing using corrosion-resistant fasteners.
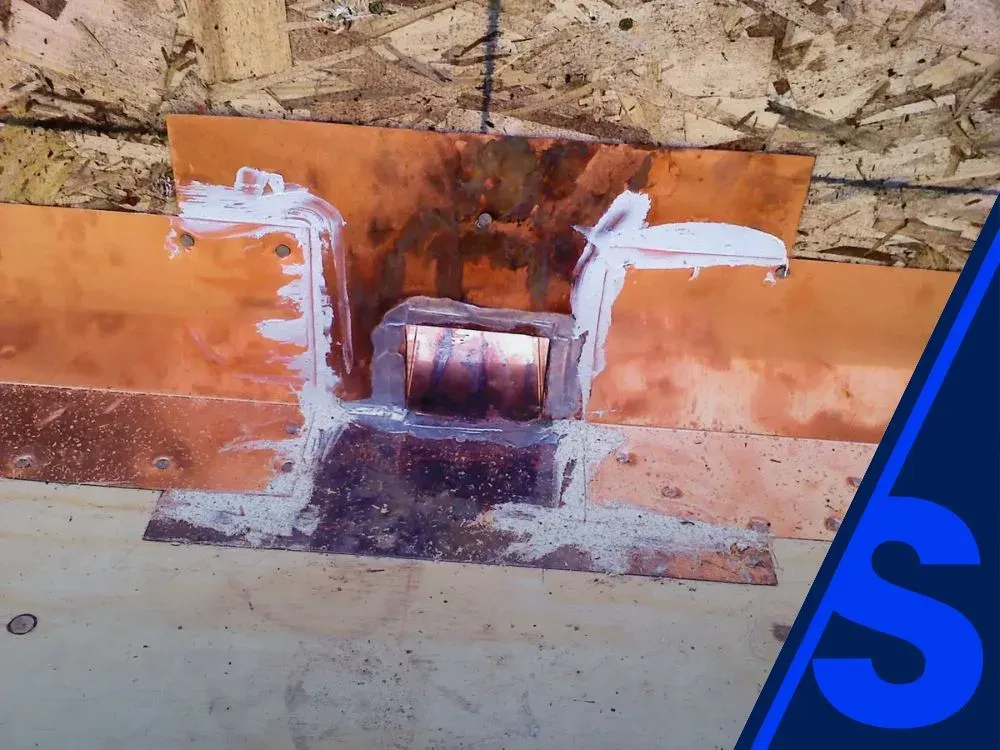
Integrate the scupper flange into the roof membrane system using manufacturer-approved flashing methods. This step is critical to prevent water migration beneath the membrane.
Seal all seams, corners, and fastener penetrations with compatible sealants.
Finally, install a leader, downspout, or splash block to direct water away from the building envelope and foundation.
Each step must be inspected before proceeding to the next to ensure watertight performance.
Integrating Scuppers with Roof Membranes
Scupper installation is inseparable from membrane detailing. Whether using TPO, PVC, modified bitumen, or built-up roofing, the membrane must wrap fully into the scupper throat and flange.
Improper membrane termination at the scupper is a primary cause of leaks. Builders should require mockups or field inspections to confirm membrane adhesion, corner detailing, and sealant compatibility.
Consistency in membrane detailing across projects reduces installer variability and long-term risk.
Flashing and Sealing Best Practices
Flashing around scuppers must account for movement, thermal expansion, and water pressure. Pre-manufactured scuppers with integrated flanges reduce field fabrication errors and improve consistency.
Sealants should be compatible with both the scupper material and roof membrane. Mixing incompatible products can lead to adhesion failure and premature leaks.
Builders should ensure flashing details are documented and photographed for quality control and warranty records.
Common Scupper Installation Mistakes to Avoid
- Several recurring issues lead to scupper-related failures.
- Installing scuppers above the finished roof plane causes ponding.
- Failing to extend the membrane fully into the scupper throat creates hidden leak paths.
- Undersizing scuppers results in overflow during heavy rainfall.
- Improper discharge routing causes water to collect at foundations or walkways.
Avoiding these mistakes requires disciplined installation standards and oversight.
Scupper Installation and Building Code Considerations
Most building codes require secondary drainage for flat roofs, especially where parapets are present. Scuppers often serve as this overflow system.
Builders must ensure scupper elevation, spacing, and capacity comply with local amendments and inspection criteria. Failure to meet these requirements can delay certificates of occupancy and trigger costly rework.
Documented compliance during installation protects schedules and reduces inspection risk.
Inspection and Quality Control for Scuppers
Scupper installation should be inspected at multiple stages. Before membrane installation, framing and opening dimensions should be verified. After membrane integration, flashing and sealant continuity should be checked.
Water testing may be performed to confirm proper drainage and leak resistance. Builders who implement standardized inspection checkpoints significantly reduce post-close drainage issues.
Long-Term Performance and Maintenance Considerations
While scuppers are passive components, long-term performance depends on keeping them clear of debris. Design decisions such as debris guards and accessible discharge paths reduce maintenance burden.
From a builder perspective, designing scuppers for reliability reduces warranty claims and protects brand reputation across large portfolios.
Scupper installation is a foundational element of flat and low-slope roof performance. When properly designed, sized, and integrated, scuppers provide reliable drainage, protect roof assemblies, and reduce structural and waterproofing risk. Builders who treat scupper installation as a system detail rather than a simple opening achieve better inspection outcomes, fewer callbacks, and longer-lasting roofing systems.
Key Takeaways
- Scupper installation must align with roof slope and drainage design.
- Proper sizing is essential to prevent ponding and overflow.
- Membrane integration and flashing detail determine long-term watertight performance.
- Code-compliant placement protects against inspection failures.
- Quality control during installation reduces warranty exposure.
For builder-focused support with flat and low-slope roof drainage design and scupper installation, connect with the CitySide Roofing team to ensure your projects meet code, schedule, and long-term performance expectations.
Related Reading: